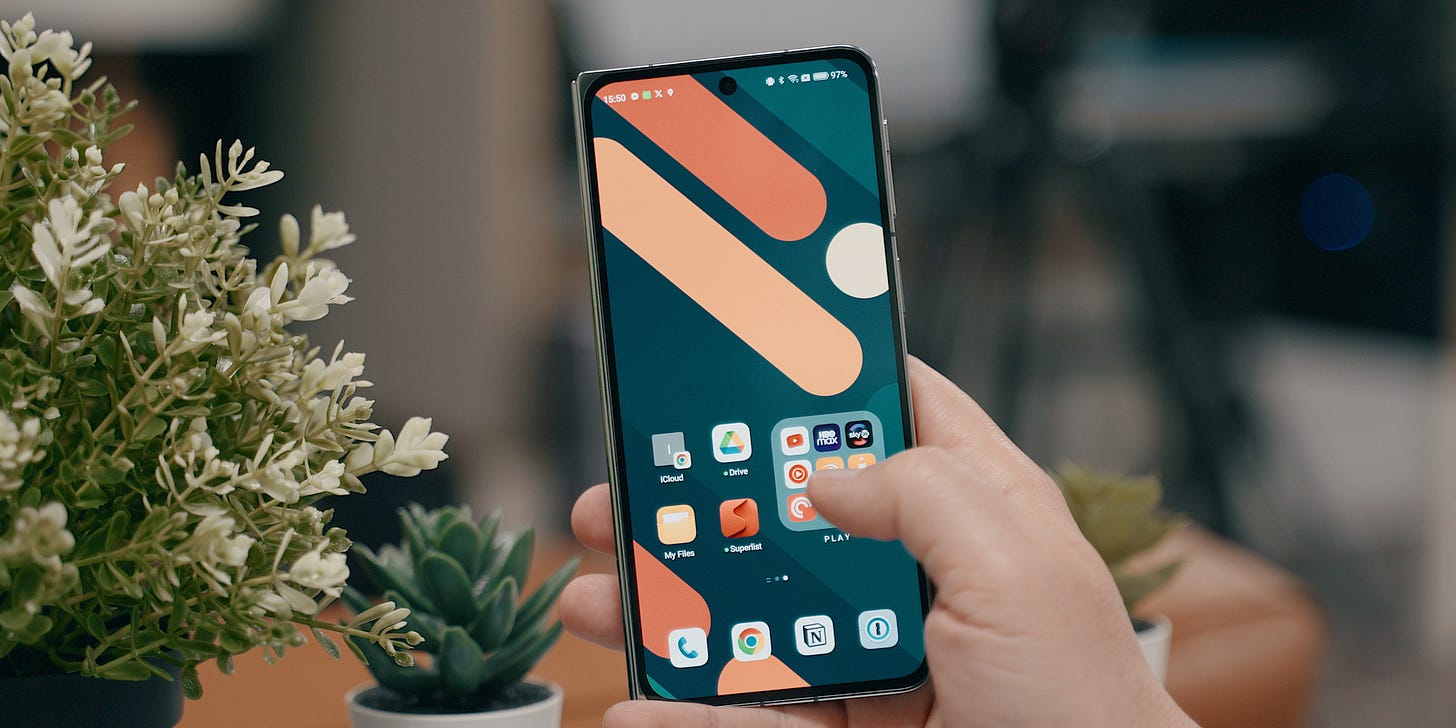
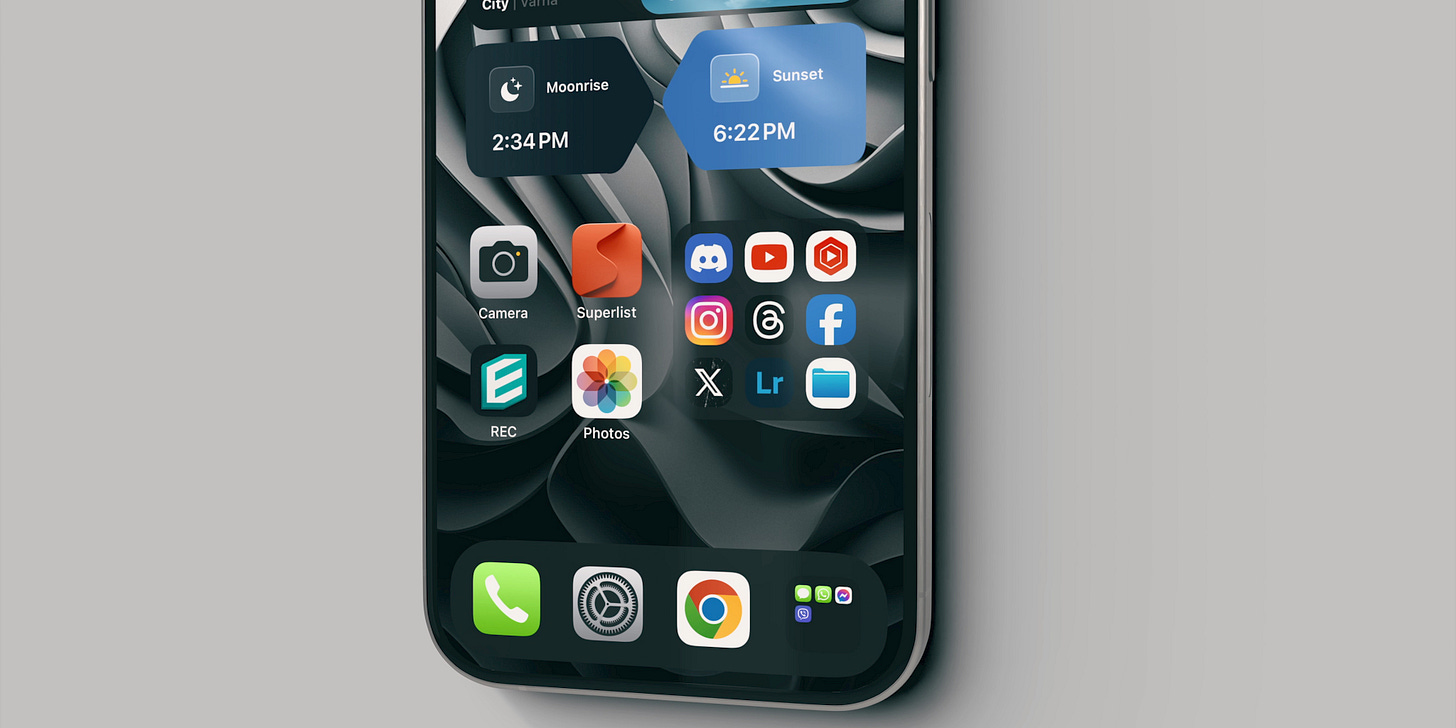
As mentioned in my latest Ultimate iPhone Home Screen Setup episode, I promised to show you how to create a Widgy Widget that looks identical to the one used in the OnePlus OS. I called it a mini drawer.
While on the OnePlus, it is more like a folder, providing the ability to scroll through pages while being able to open the apps directly, mine is very similar, minus the scrolling through pages part.
Such a widget allows you to stack 9 apps in space that could usually fit 4, which I believe is a great opportunity.
So here’s how you can create your own mini drawer:
Open Widgy Widget
Under the first tab Create, tap on the top left button + Create New
Pick a small size & give it a name
The first thing to add is a transparent image. This is optional, as you can have just a solid background, but a transparent image looks much better, in my opinion. Tap on the + sign in the layers panel and choose Image.
Once you add the image, under the first layer tab, Frame, scale, and position the image to take up the entire size of the widget.
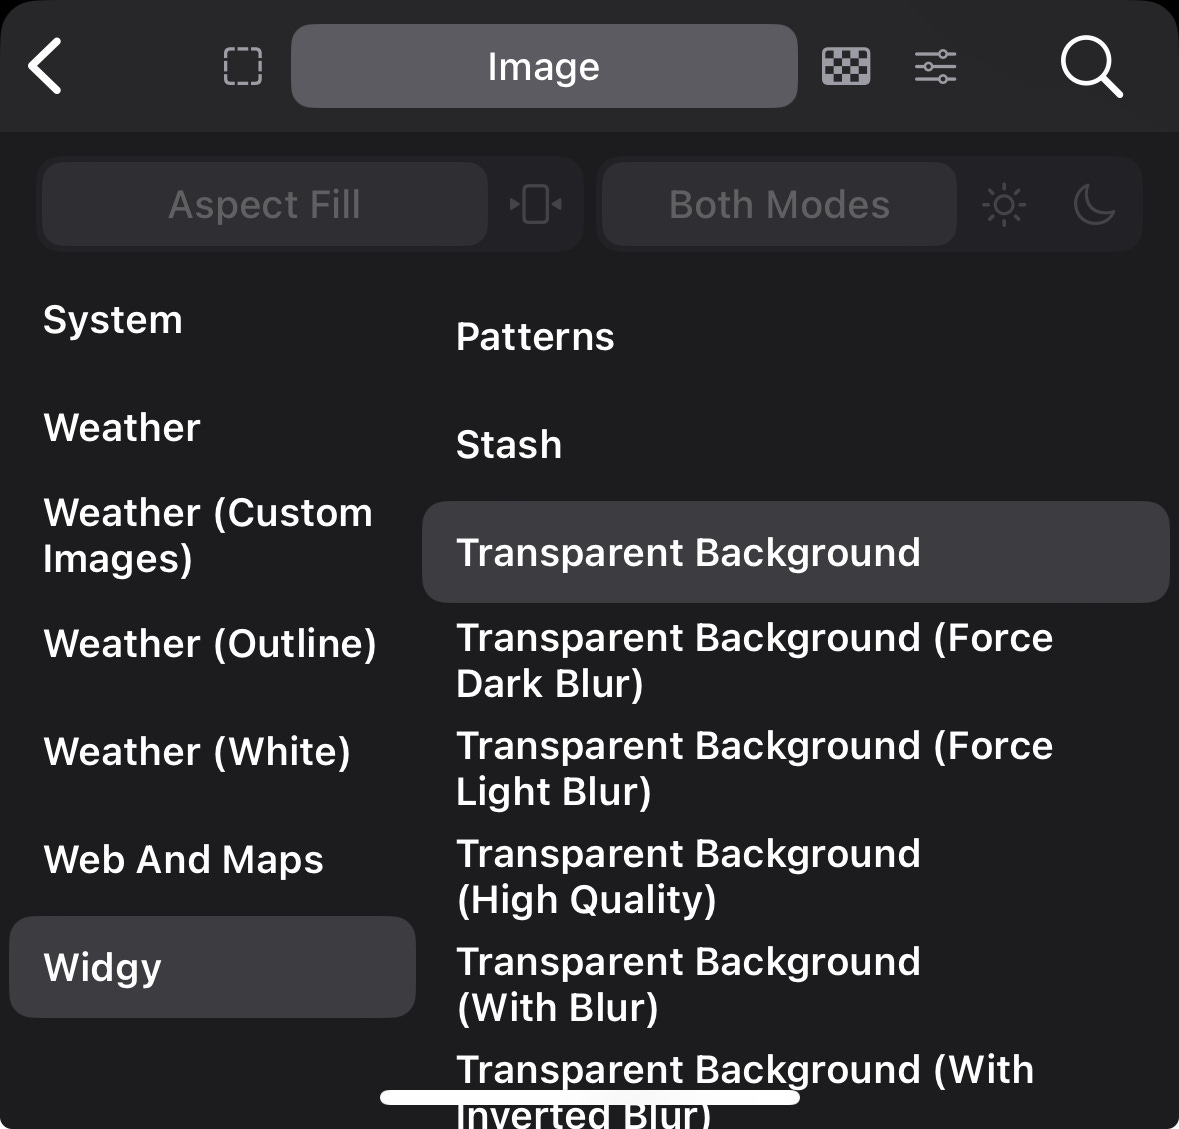
Head to the second tab, Image. From the left column, choose the last option, Widgy, and from the light column, select Transparent Background.
Go back to the main layers <
Tap on + and add a shape
Under the first tab, Frame, scale the shape to be as big as the widget again, and from the second tab, leave it as a square. Although we are adding a square with sharp edges, don’t worry as iOS will round the widget accordingly.
Go back to the layer section again <
Tab on + and add a new image. This will be the first app icon.
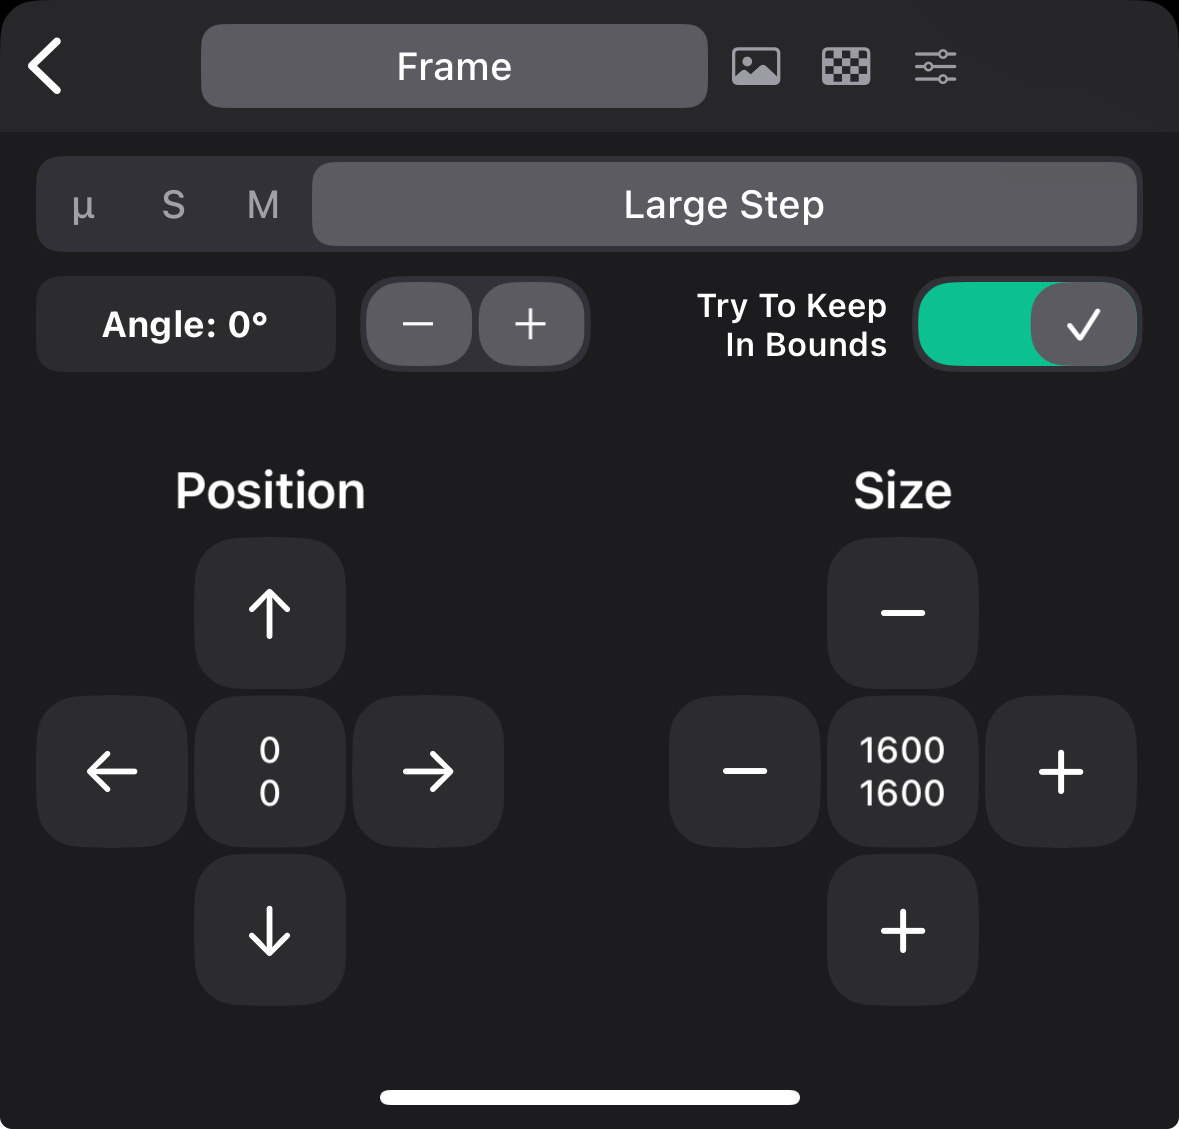
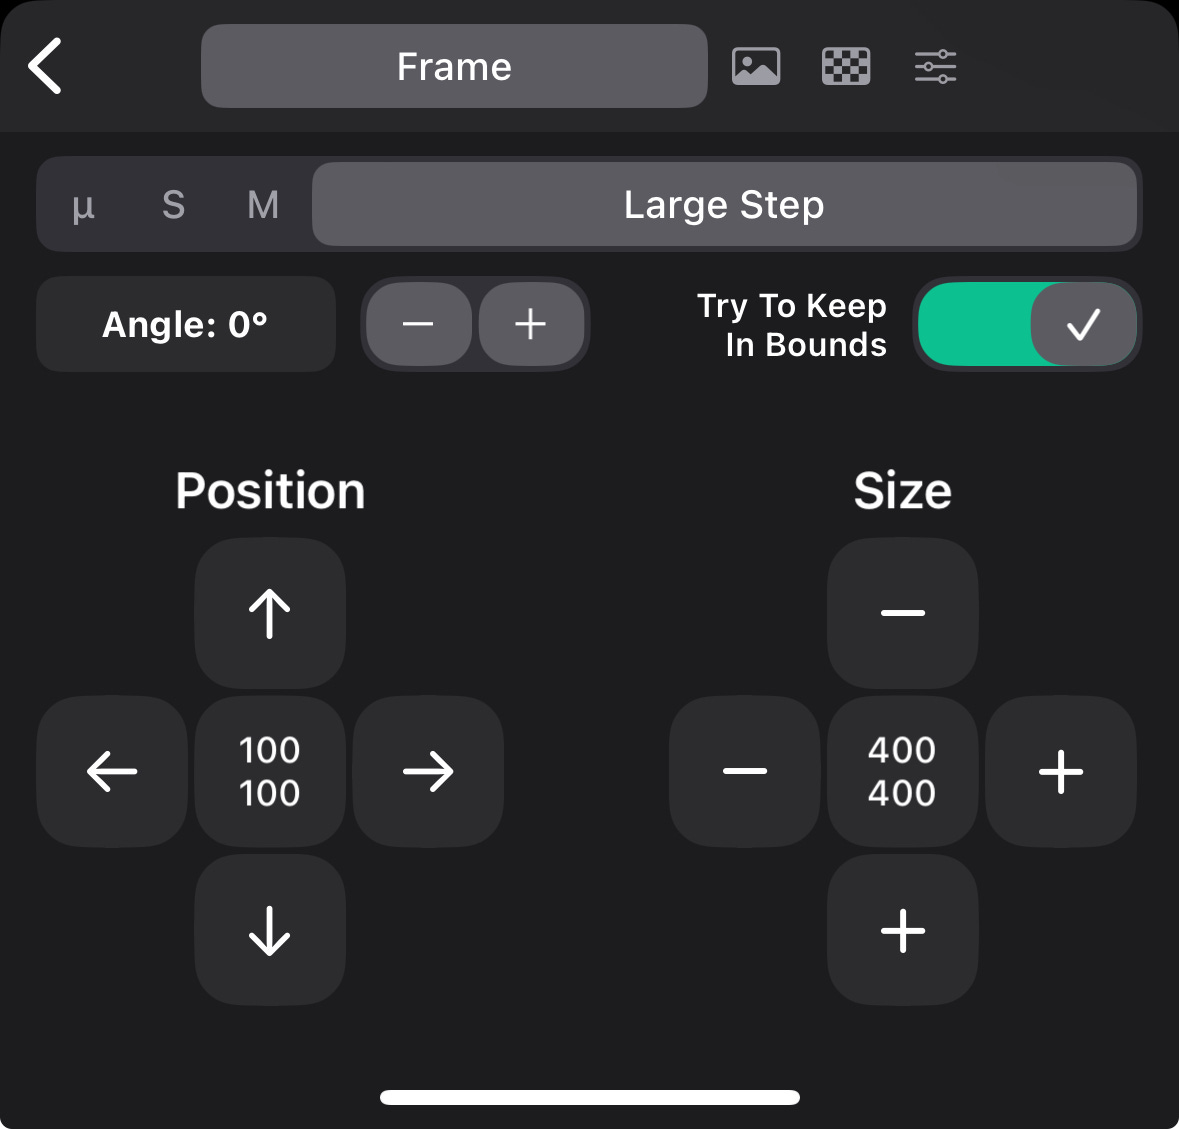
I am attaching the dimensions and position of the first icon to give you a perspective of what mine looks like. Under the Frame tab, you can size and position yours as you prefer.
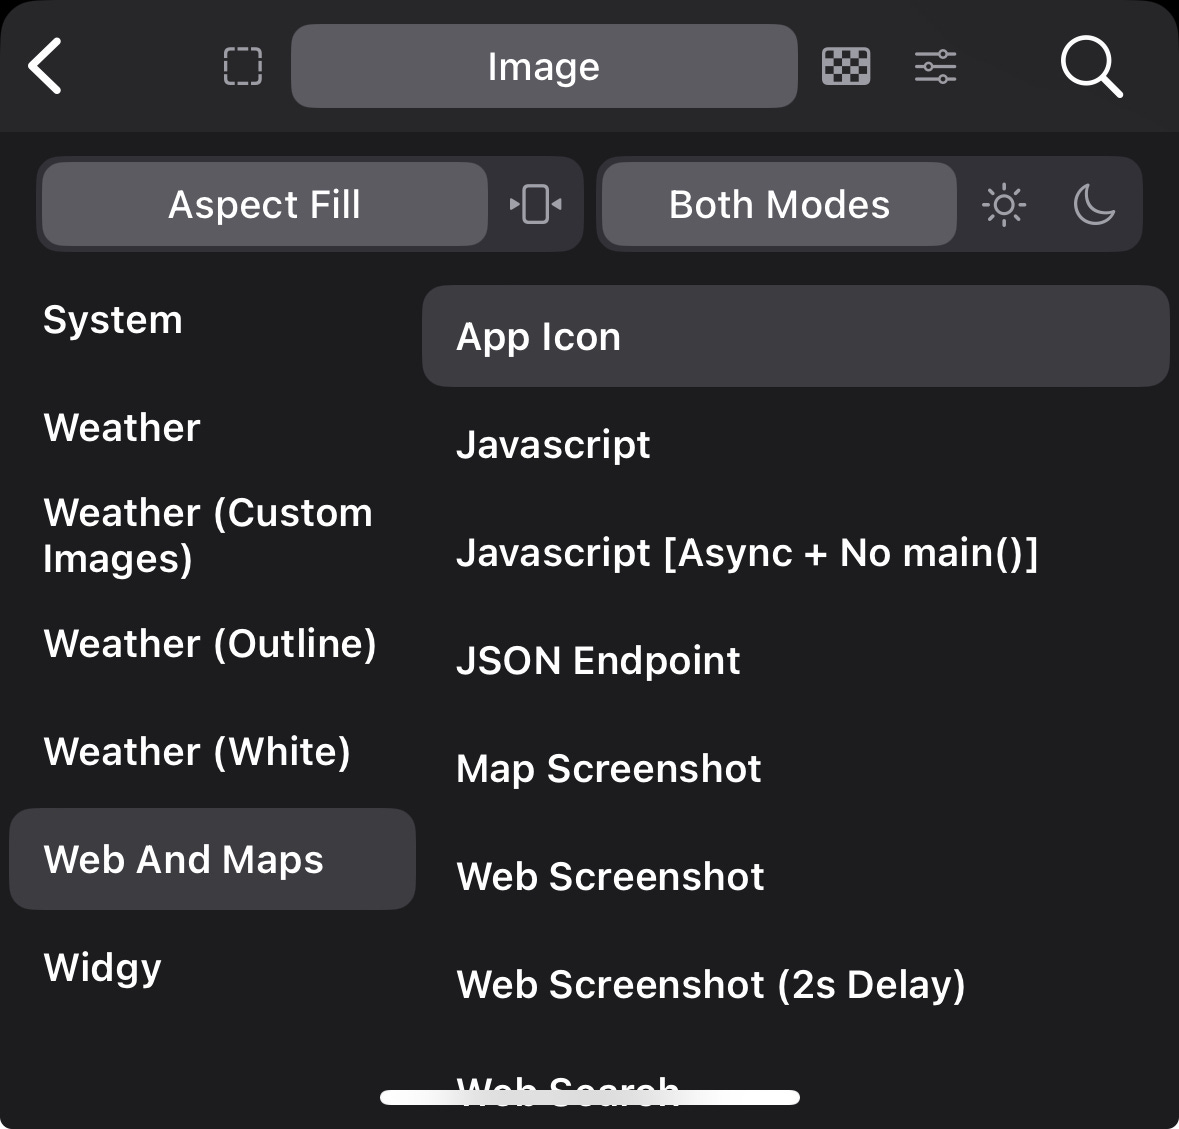
Under the second tab, Image, on the left, choose Web & Maps, and on the right, select App Icon. While in there, search for the app icon and hit enter. Results appear only when you hit enter, as there is no search as you type.
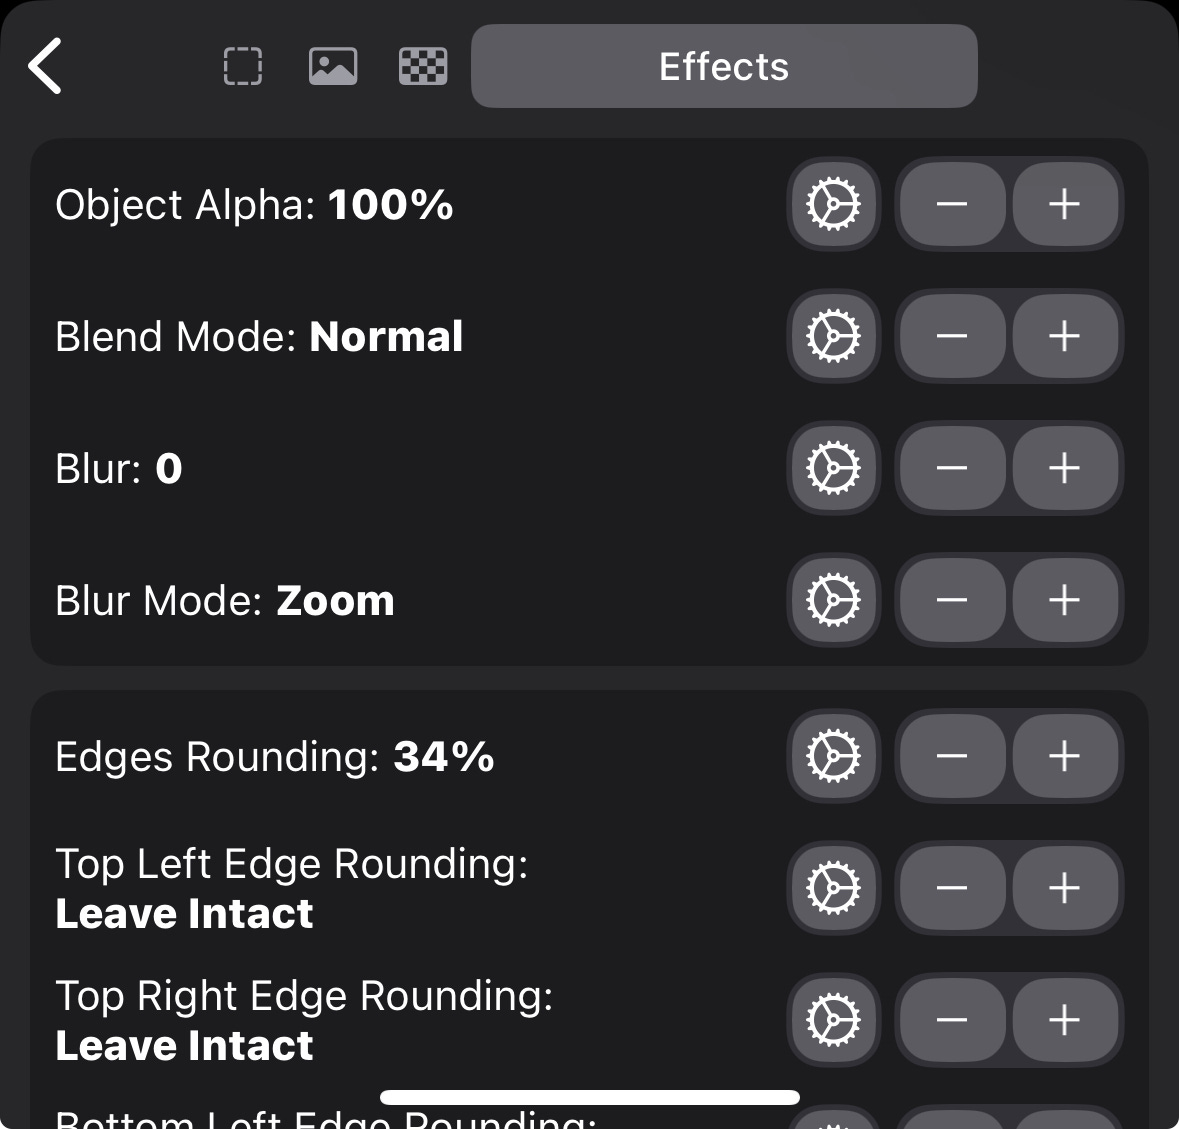
Finally, head to the last tab Effects and add Edge Rounding. I’ve made mine 34% but the choice is yours.
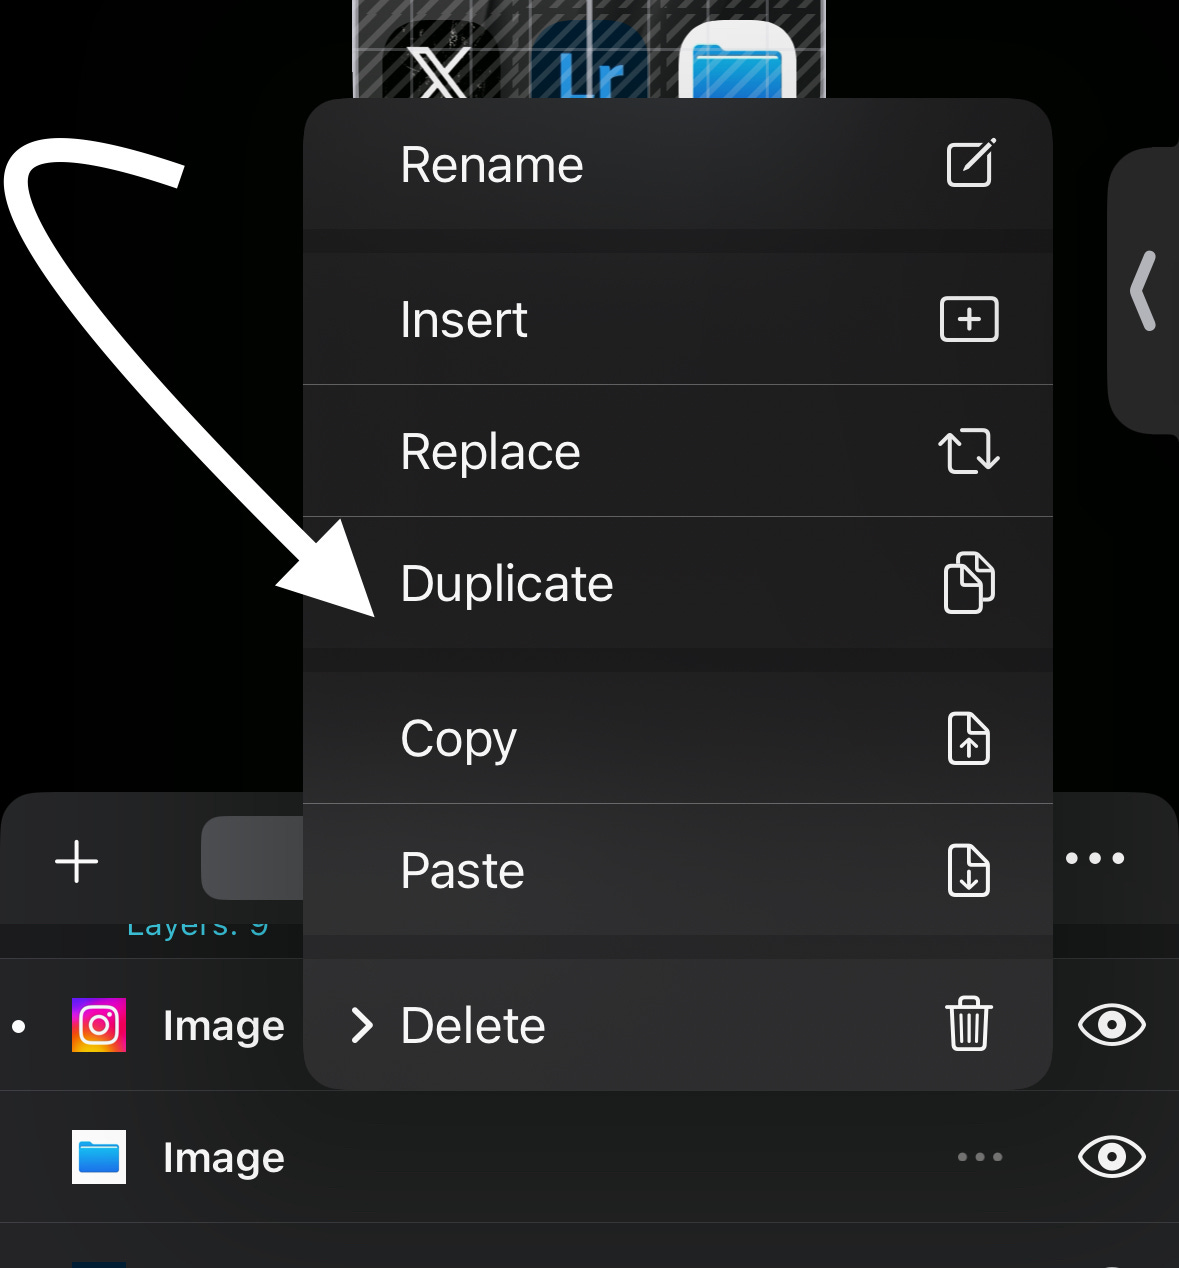
Head back to the main layers panel < and tap on the 3 dots on the icon layer you just created. Choose duplicate and start creating the other icons as you desire.
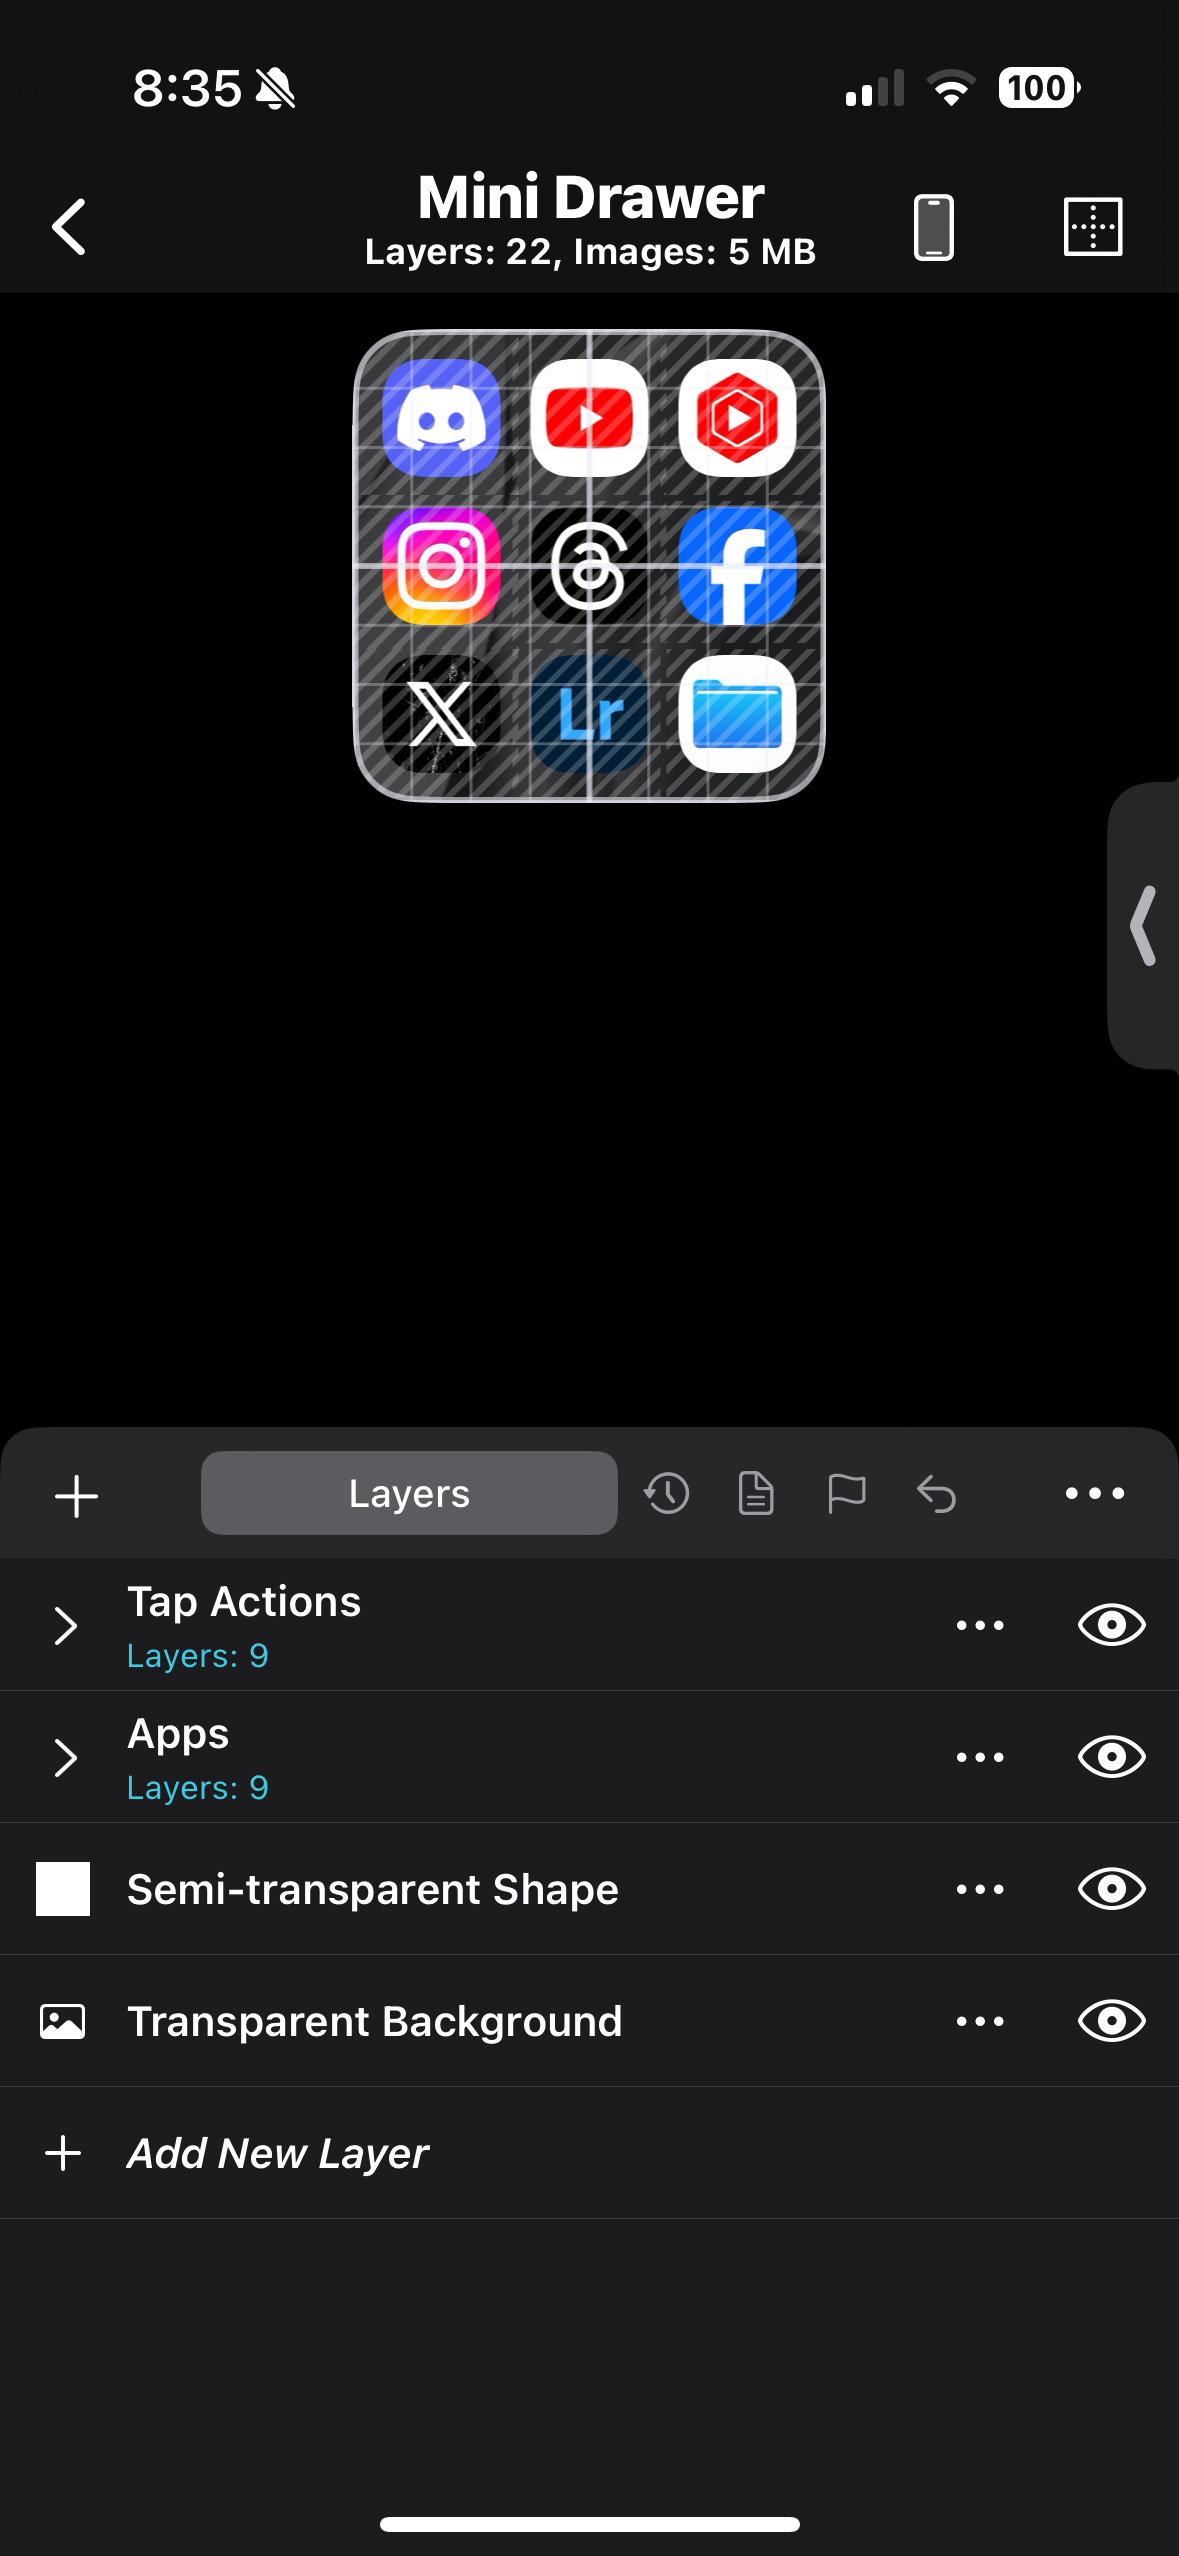
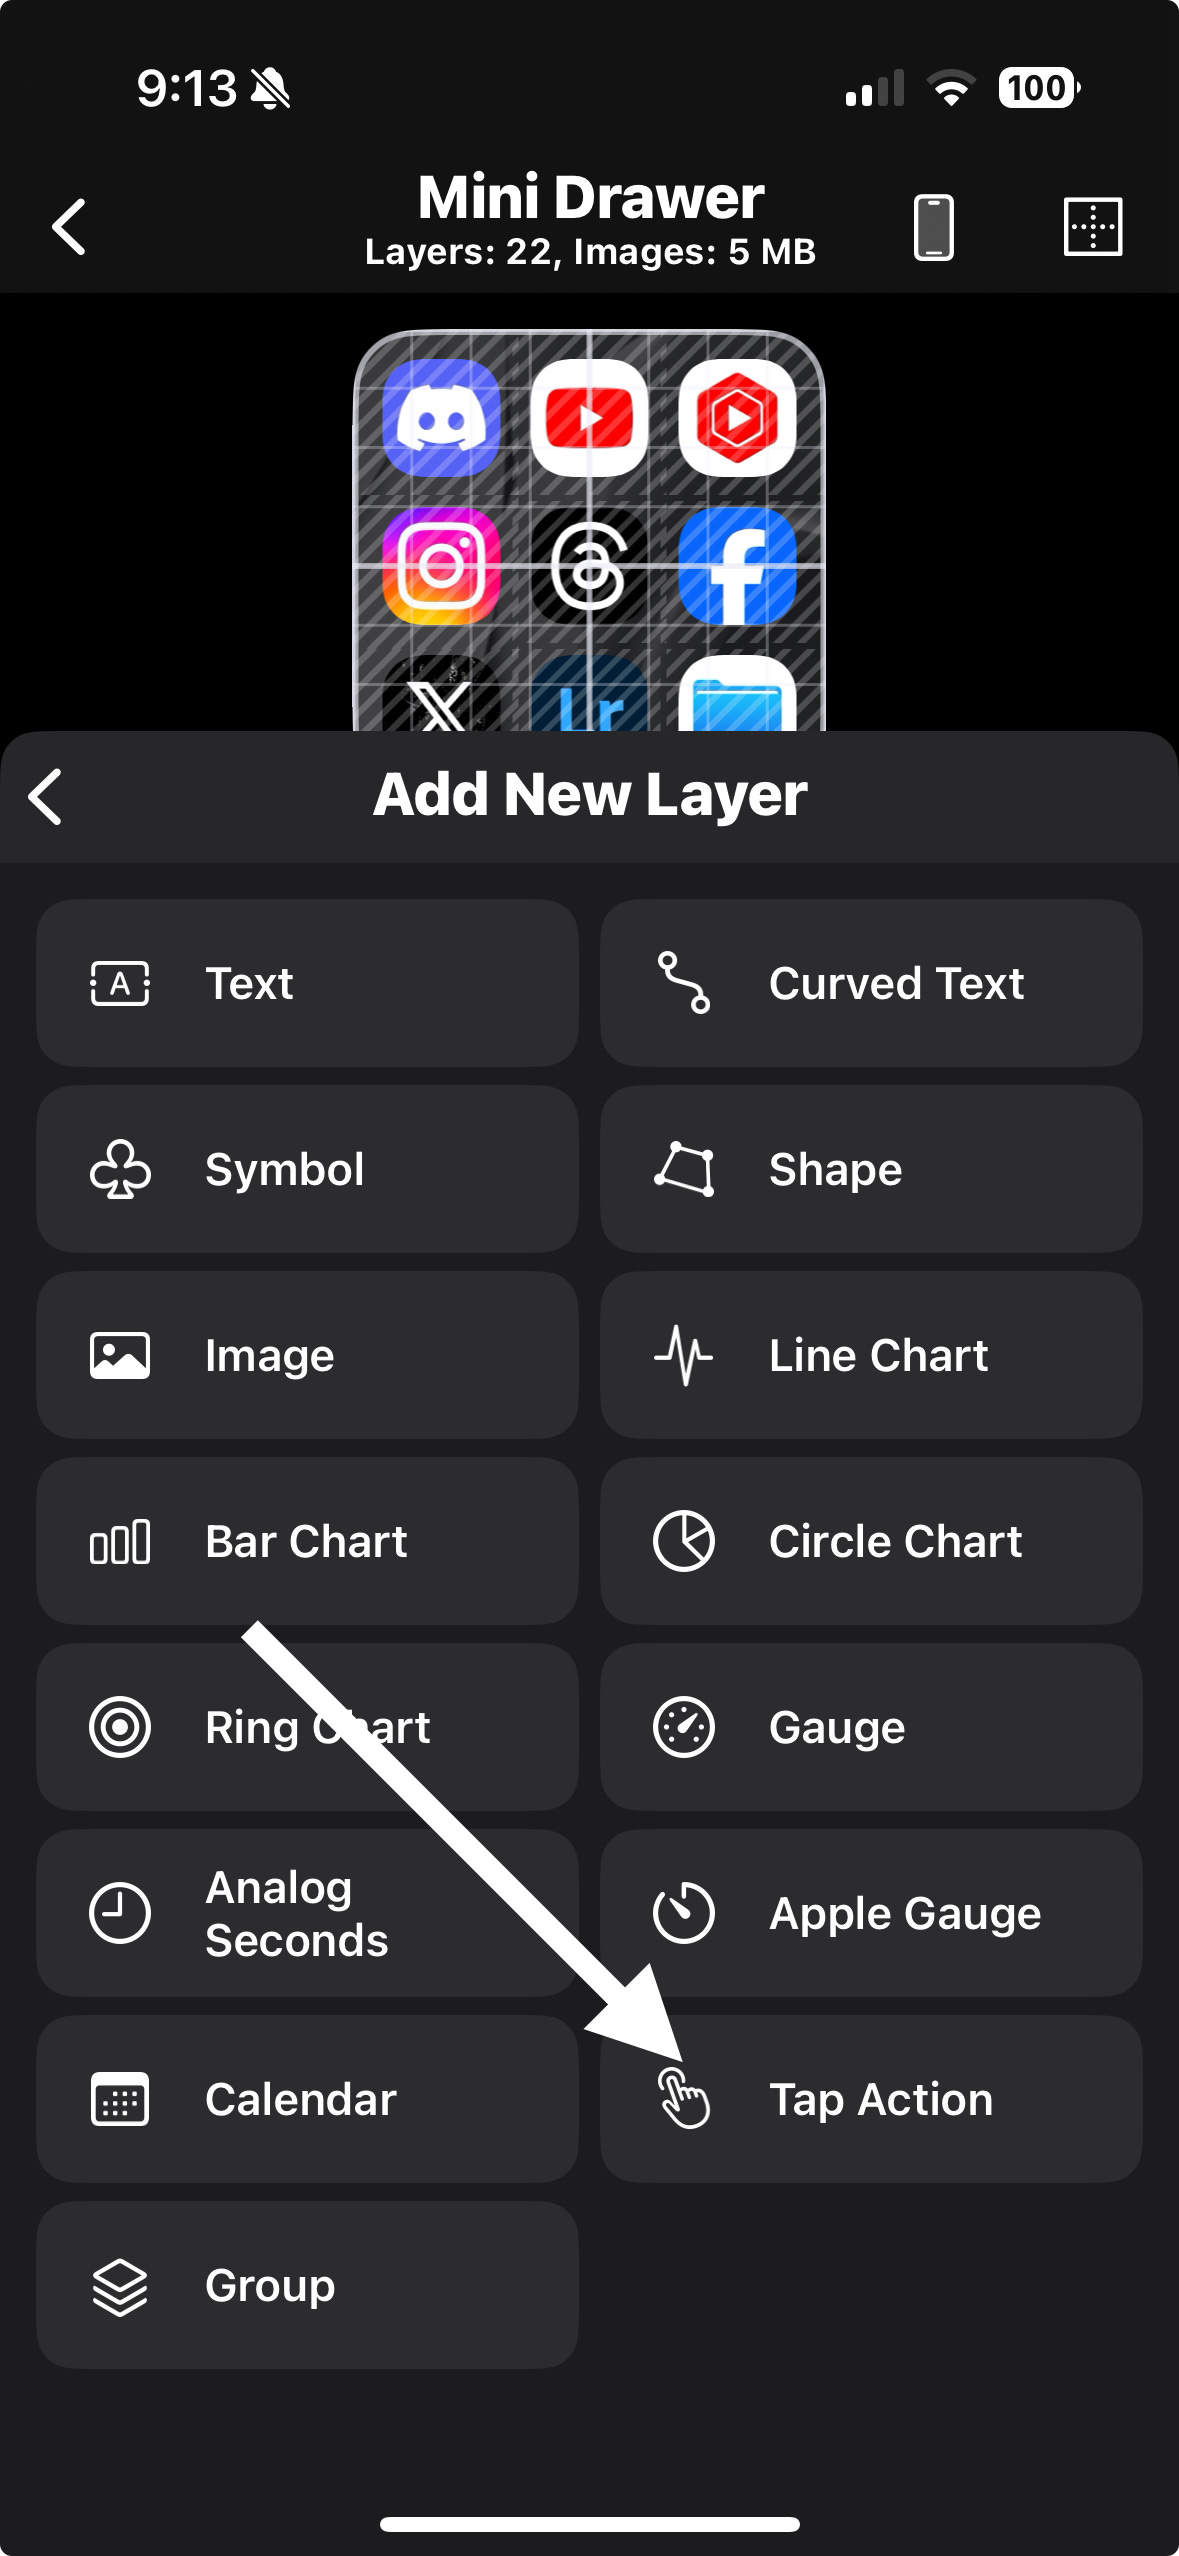
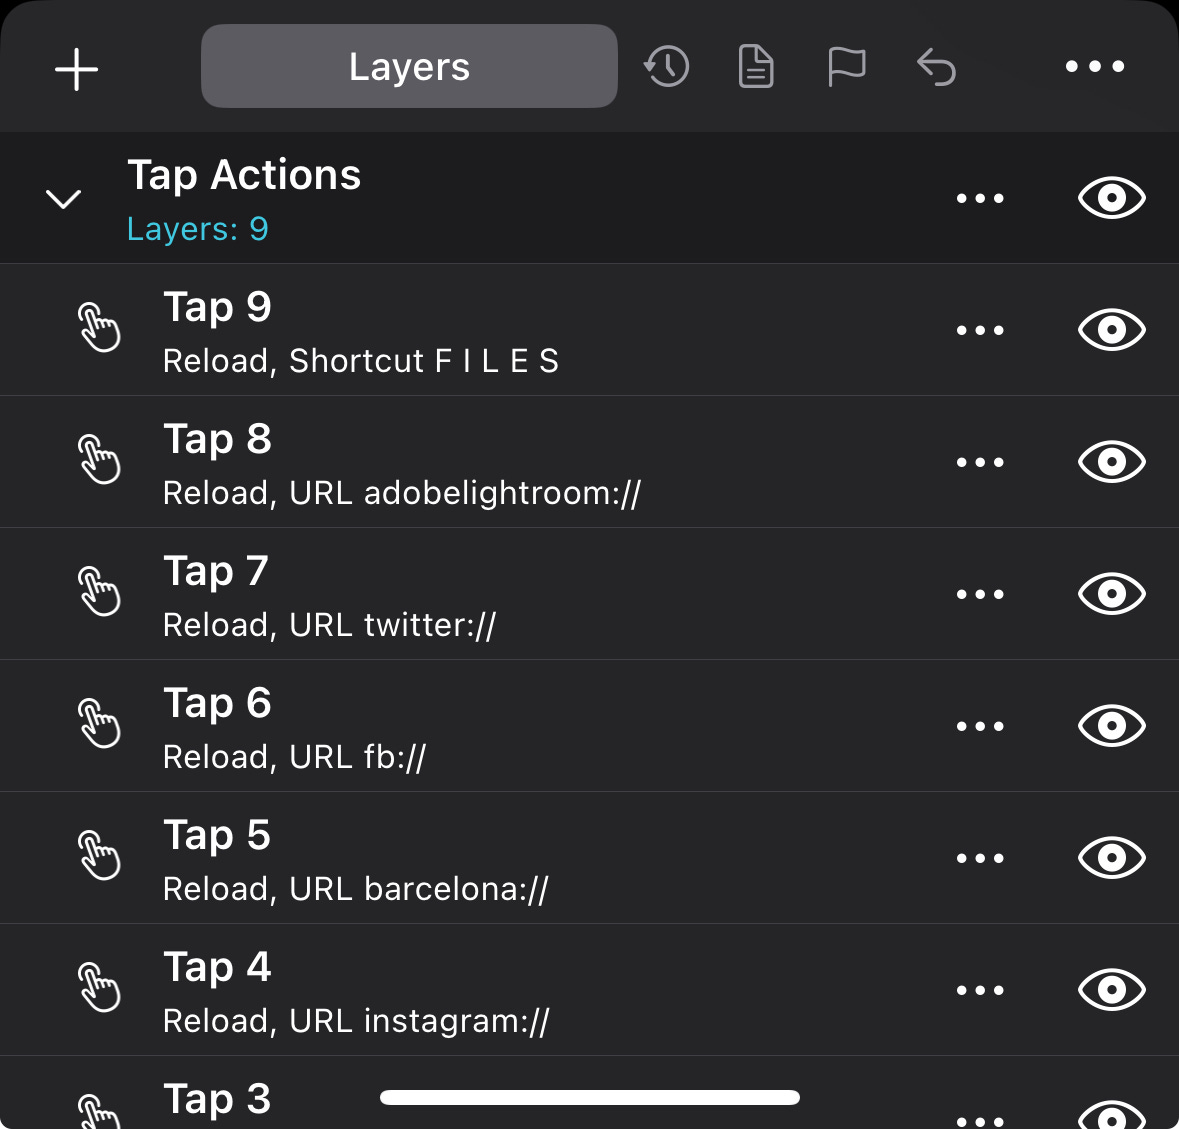
To make all app icons clickable, while in the main layers panel, tap on + and scroll to find Tap Action. This is a tappable layer which you position on top of your desired icon.
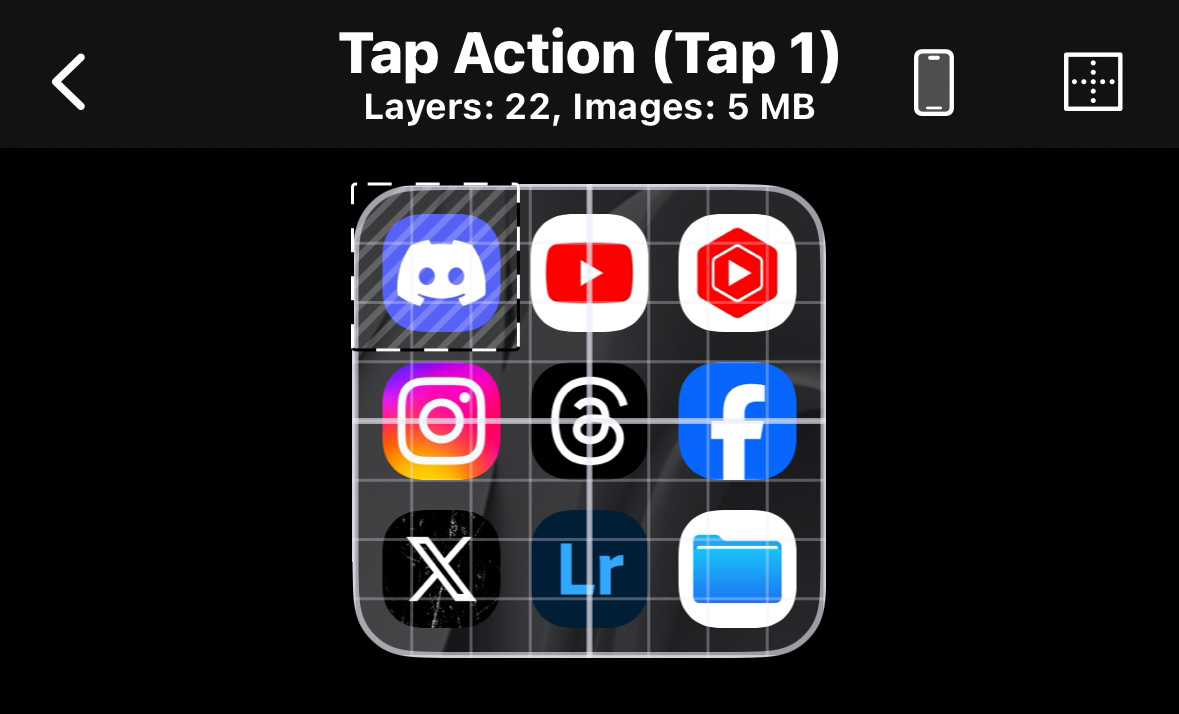
Under the Frame tab position and scale the Tap Action layer over your first app icon. You can make it bigger than the actual app icon as long as it doesn’t overlap with the others you’ll duplicate in a bit.
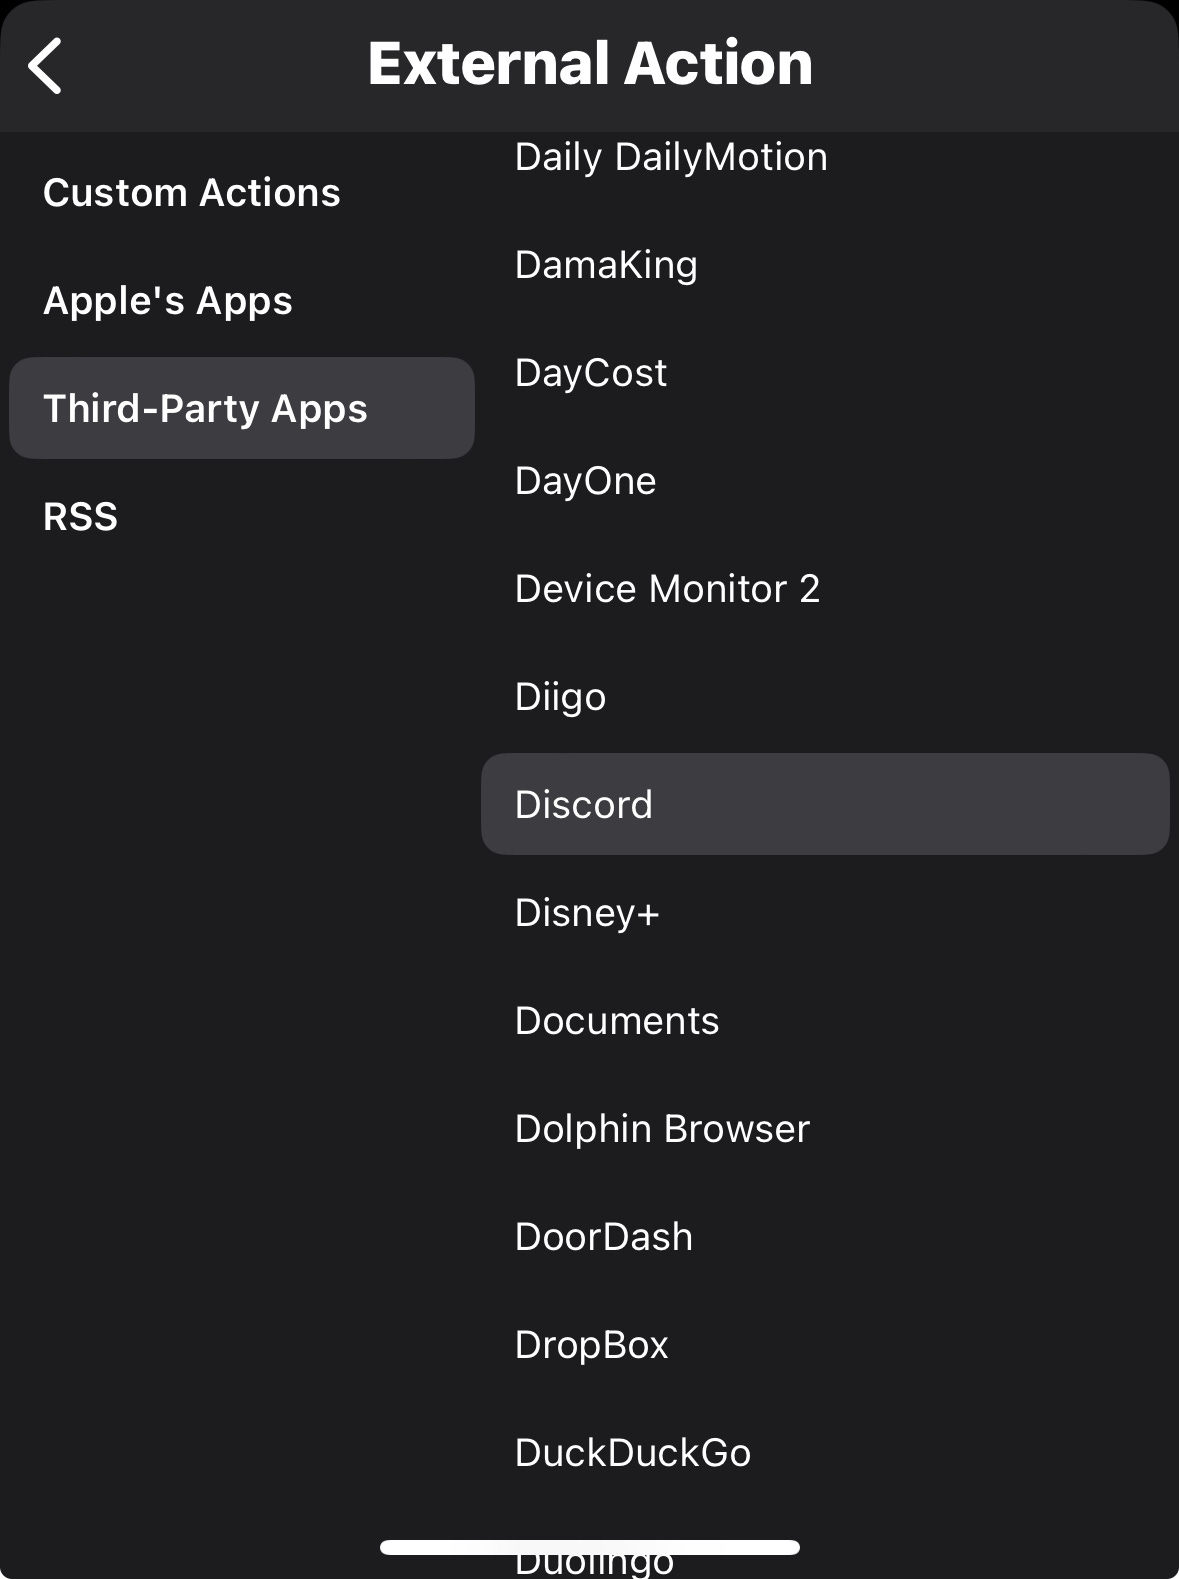
Once you size it and position it, head to the second tab - Action. Under External Action, use the +- buttons to get to Open URL/RSS/Shortcut and tap on it.
If you are placing this Tap Action layer over a default Apple app like Files or Notes, choose Apple’s Apps and find your app. If you are displaying it over a third party app, locate it under the Third-Party Apps menu. If it’s not there, consider opening it as a Shortcut and create a shortcut for it (similar to creating custom icons on the home screen).
At this point, duplicate your Tap Action layers to match your number of app icons and reposition them accordingly.
That’s it 🙂 Feel free to share yours with me by tagging me on X or Instagram.


Just purchased; This step by step is a little confusing. Is there perhaps a video tutorial?
Just brilliant Iskren, it really is. Amazing graphics in the WeatherVue widget and then your mini drawer is screen space saving in 'expert mode'! Really enjoy using this now and your instructions were easy to follow. If only we could stop it briefly opening Shortcuts app before opening the app we have tapped on, it would be perfect. Regards, Richard B.